Cordova App Wrapper
You can use Cordova to wrap your Quasar App into a native mobile App. We’ll be using Quasar CLI to manage this.
First install Cordova globally on your machine:
Then make sure you have the platform SDK installed on your machine, like Android SDK.
Wrap your App
Now let’s create the Wrapper for your App.
This command generates a subfolder inside your App named /cordova. It contains the assets of a Cordova project mapped to your Quasar App’s production ready code (/dist).
It will ask you if you want to install the Crosswalk plugin which applies to Android apps only. Crosswalk ensures that your App will have the same browser runtime (which is also the latest and greatest) on all Android platforms. The downside is that it will also make your native App package file bigger. Read more here about Crosswalk.
It is highly recommended that you opt for the Crosswalk plugin to be installed. Otherwise your App might experience unexpected behavior on older platforms.
If however you don’t wrap your App with Crosswalk from the CLI you can add it later with:
NOTE for Windows Developers
It is possible that you getError: EPERM: operation not permitted, symlink '..\dist', in which case you need to add privileges for your user to be able to create symlinks. Read here.Another work-around and a quick solution is creating the symlink manually (after running
quasar wrap cordova). To do so, start a command line as Administrator, change directory (cd) to the newly createdcordovadirectory, runmklink www ..\dist\.
After making the wrapper and making sure you have the platform’s SDK installed on your machine, you need to add at least a platform to your App, like this:
IMPORTANT
Remember all Cordova commands must be issued from within the/cordovasubfolder.
Cordova Plugins
There are lots of Cordova plugins available which enables to you access the Camera, NFC, Battery Status, Contacts, Geolocation, Device motion and orientation and many more.
Check out Cordova’s website. Example for Battery Status: here.
Tips
Browser Simulator
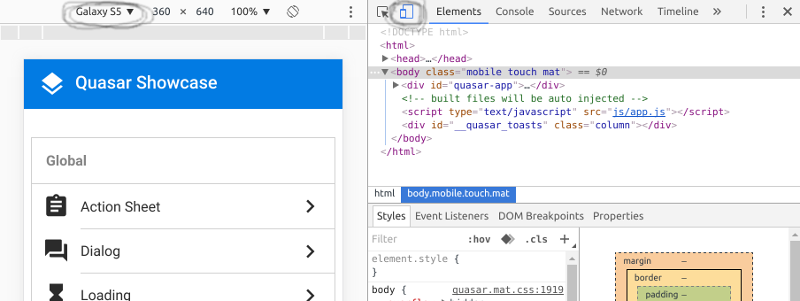
Use Google Chrome’s emulator from Developer Tools. It’s a fantastic tool. You can select which device to emulate, but keep in mind that it’s an emulator and not the real deal.

Disabling iOS rubber band effect
When building an iOS app with Cordova and you want to disable the rubber band effect (https://www.youtube.com/watch?v=UjuNGpU29Mk), add this to your config.xml from the cordova wrapper folder inside your project:
Remote Debugging
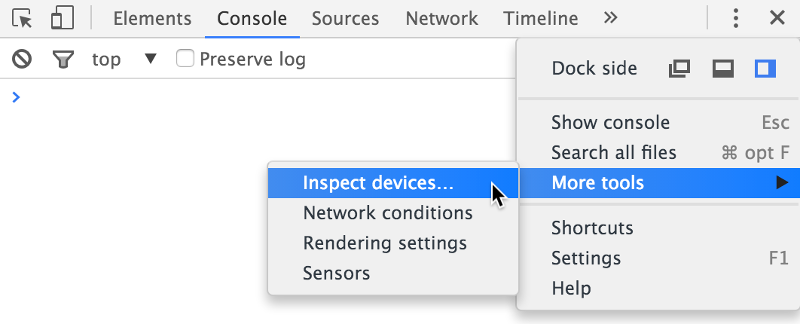
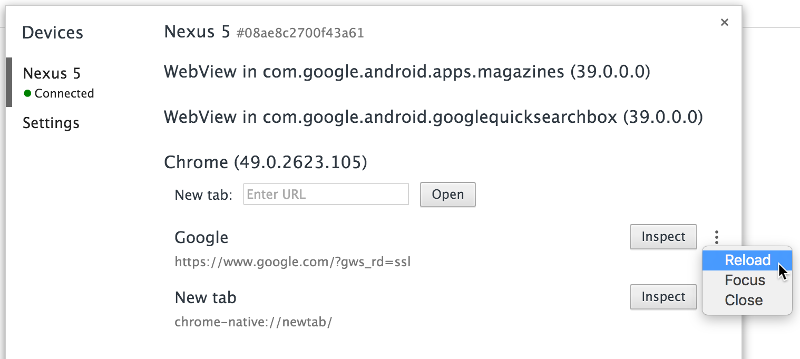
If you are debugging Android Apps, you can use Google Chrome Remote Debugging through a USB cable attached to your Android phone. Combine this with Quasar Play App and you get an excellent debugging environment.
This way you have Chrome Dev Tools directly for your App running on the phone. Inspect elements, check console output, and so on and so forth.


Setting Up Device on Linux
You may bump into ?????? no permissions problem when trying to run your App directly on an Android phone/tablet.
Here’s how you fix this:
The content for 51-android.rules:
Now running adb devices should discover your device.
 Quasar